Archive for 2018 Home2018

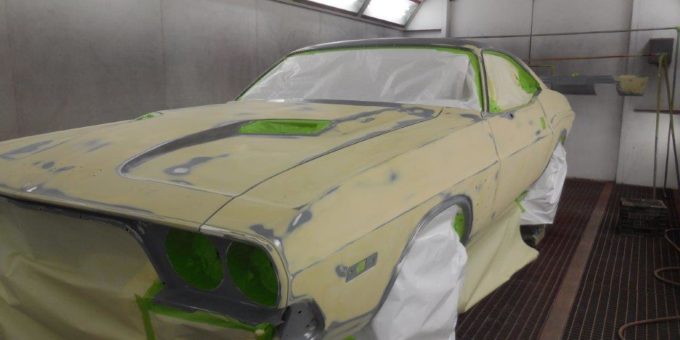
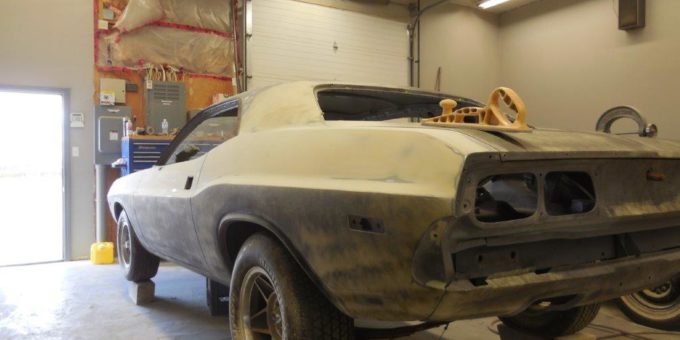
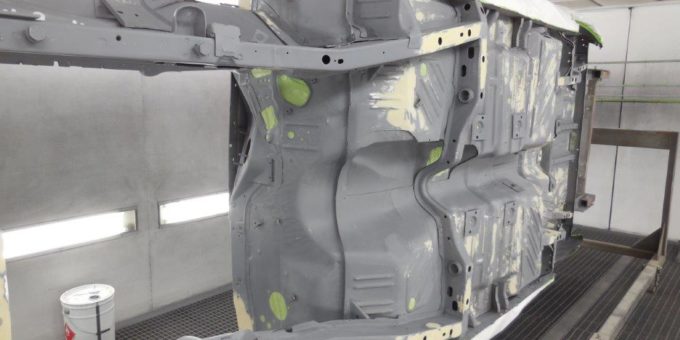
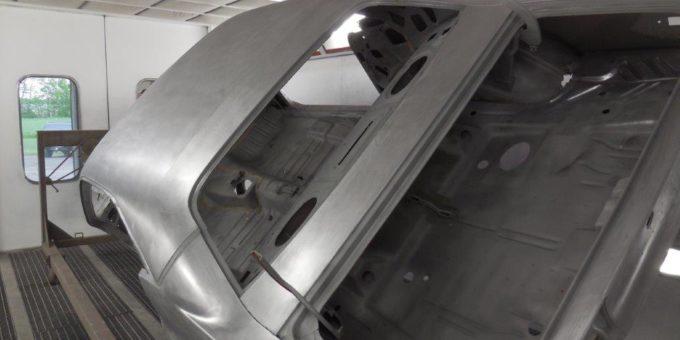
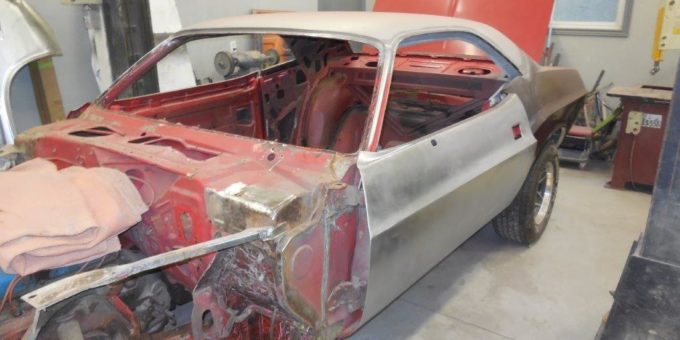
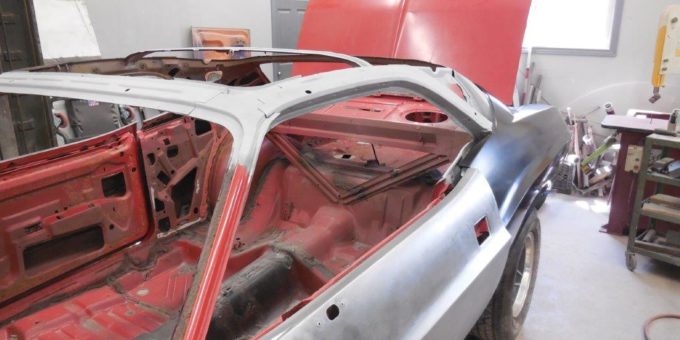
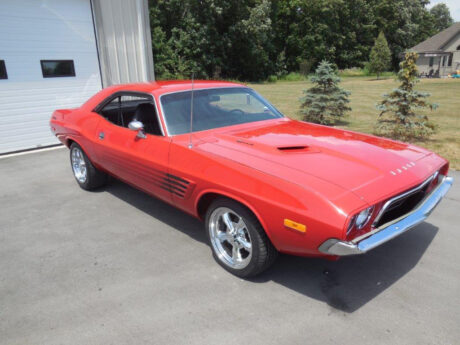
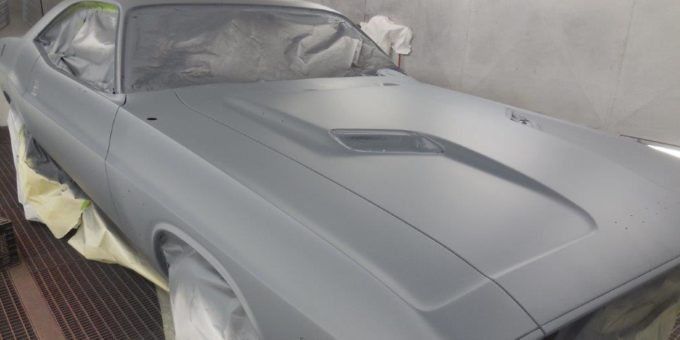
73 Challenger in the Paint Booth

The 73 challenger is in the paint booth. We will put 3 coats of feather fill primer on. After feather fill is applied we will bake it 60 mins. We will then take it out of the paint booth and block sand it down starting with 120 grit and then finish it in 320 grit (...)

Priming the Porsche

Here are a few pictures of the Porsche in its first primer. It has taken a lot of work to get to this point.

Porsche Ready for Primer

The body work is complete on the Porsche. It is ready for its first round of primer. We will spray three coats of spray able putty on it and then take it out of the booth and block it down.

Metal Work on the Porsche

The Porsche needs a lot of metal work done on it . The person that did the work on the car before us covered a lot of problem areas up with fiberglass and tar. It was very unsafe to be driving this car around. Some panels we are able to buy after market and some (...)

Priming the 74 Challenger

The 74 challenger is back in the paint booth receiving its first round of primer. We will put 3 coats of a spray able putty on it the first time. After that is dry we will take it out of the booth and block it all down. We will then put it back in the (...)

Challenger Back Together

We have the challenger all bolted back together and the panels lined up. We will now do the body work on the outside and get it ready for its first primer.

74 Challenger Undercarriage

The challenger has had the body work completed underneath. We are priming the underneath with 4 coats of high build primer. Once the priming underneath is done we will leave it in primer while we put the car back on its wheels install and line up all our body panels and begin body work on (...)

74 Challenger Sandblasted

We have finished all the metal repair on the 74 challenger. We are disassembling it and putting it on a rotisserie to get sandblasted inside and out. Here it is in the paint booth prior to spraying two coats of epoxy primer on it. We will spray the epoxy primer on it and then do (...)

74 Challenger Roof Installed

Here is a picture with the new roof installed. It was an aftermarket piece and fit very well. Much better than the sun roof hole that someone cut in the original one. We also changed the left hand 1/4 panel because it had been damaged years ago and had a bad repair done on it. (...)

Fixing the 74 Challenger’s Roof

We have decided that the best way to fix the hole in the roof from the sunroof is to replace the whole roof. We can buy an aftermarket one from golden leaf automotive. Here are a couple pictures with it removed and then installed.

Customer Testimonials

Project Portfolio

  • Adrian 73 Challenger
  • 1948 Anglia
© 2012-2015 Randy Colyn Restorations Company and Rod Shop | Classic Car Restoration | Muscle Car Restoration | Collector Car Restoration | Hot Rod Shop      Website design & SEO by Allegra